Get started
Reelwire is made to be used two ways, and you can mix them as you like: right here in the dashboard, or through the AI assistant you already use. This page shows both.
The welcome
The owner of a new workspace sees a short welcome the first time the dashboard opens: the AI assistants Reelwire works with, and the two ways to use Reelwire in a few words. It is only a starting point. There is no chat in the dashboard: you talk to your AI assistant in that assistant's own app.
Getting started opens the Getting started guide in a new tab: your own brand and channel beside the default ones, and a first video that Reelwire posts for you on the platform you choose, in about ten minutes. Connect your AI opens Using the MCP, on connecting the AI assistant you already use.
The welcome stays open while you read them, and comes back until you close it with its cross. Start here, at the top right of every screen, opens it again whenever you want it.
With your AI assistant
Reelwire's MCP server connects it to ChatGPT, Claude, Gemini, Grok, Perplexity or Mistral in a few minutes: Install it shows how, assistant by assistant. Then ask your assistant to get you started. It asks who you are and what you want to post about, sets up your brand from your website or with you, then your channel and a plan of posts for the weeks ahead, and remembers your answers for the next conversation: see Your first conversation.
In the dashboard, in four steps
A new workspace is not empty: it starts with Default brand, Default channel, Default post list and Default stream, already connected (see Ready in the first minute). So the steps are about making them yours and giving them something to post.
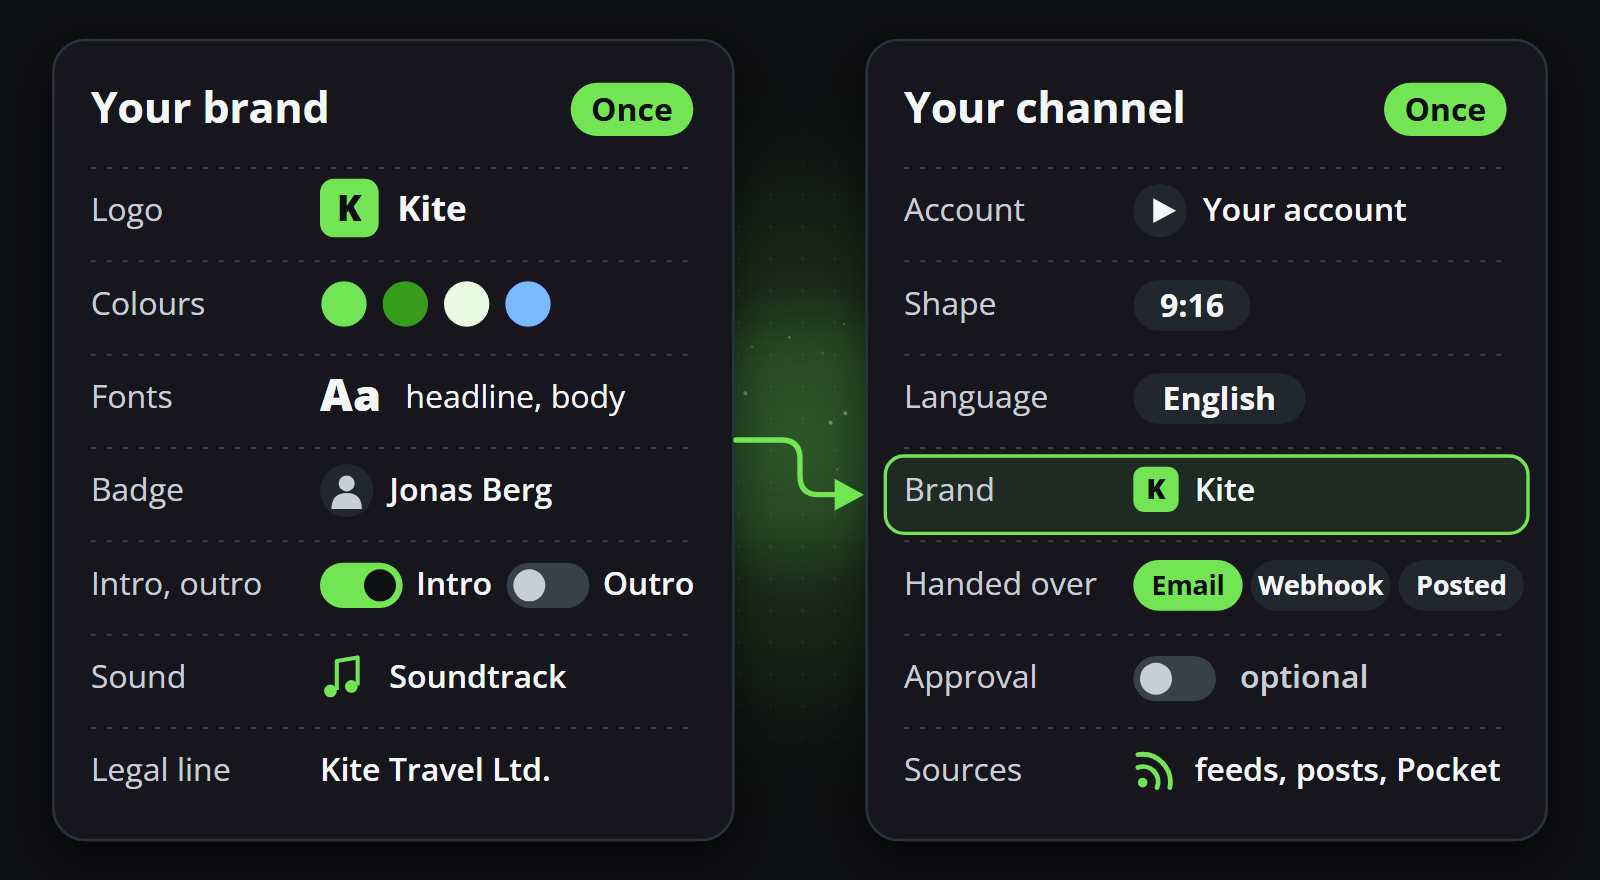
- Your brand. The look every clip wears: logo, colours, fonts, sound and the text that goes out with every post. On Brands, press Settings on Default brand and make it yours.
- Your channel. Where posts go: the platform, the aspect ratio, the language, the brand it wears, whether a person approves each post first, and how posts are handed over (by email, by webhook or both). On Channels, press Settings on Default channel.
- Your content. Where posts come from: a feed from Ready-made feeds, added with Add to channel; posts you write yourself in the Post composer; or events your own system sends to a stream under Custom feeds with an API key. One is enough, and you can add the others later.
- Your first post. It renders and is handed over when it is due: by email with a button to its post kit, by webhook, or both. Posts shows where every post is.
Just want one video? Clip studio makes a clip straight from a template, with no channel and nothing posted.